Step-by-Step Guide on DIY Lash Lift at Home
Nov 27, 2023

In this article:
DIY lash lifts are all the rage right now. Imagine having those salon-worthy, fluttery lashes you love, achieved right in your own cozy corner. With our step-by-step guide, you'll learn how to perform an at-home lash lift and tint.
So grab your lash lift kit, and let's walk through the process together.
Benefits of DIY Lash Lifts at Home
Lash lifts at home comes with a handful of attractive benefits. Here are some of them:
- Cost-Effectiveness: Instead of regular salon visits, investing in a quality at-home lash lift kit can reduce costs significantly over time.
- Convenience: Imagine achieving beautiful lashes on your own time, without the need to book appointments or travel to a salon. With a DIY lash lift, you have the luxury of managing your schedule easily.
- Customization Options: Whether you prefer a subtle lift or dramatic curls, doing it yourself means you can adjust the outcome to match your desired look.
- Learning a New Skill: There's a certain satisfaction that comes with mastering a beauty technique. By doing your lash lift, you gain a new skill that you can refine and perfect over time.
- Safety and Hygiene: When you perform your lash lift, you have complete control over the cleanliness of your tools and products.
- Allergy Management: If you have sensitive skin or allergies, at-home kits allow you to carefully select products you know are safe for you, reducing the risk of reactions.

Step-by-Step Guide to DIY Lash Lift
Achieving a stunning lash lift at home is straightforward if you follow the right steps. Here’s your complete guide to getting those salon-style lashes on your own.
- Step #1: Gather Your Supplies - Assemble all the necessary items from your lash lift kit. This should include lash lift glue, silicone pads, a perm lotion, a fixation solution, a nourishing oil or serum, and tools such as a micro brush or spoolie and applicators(y-shape). Make sure you also have a timer, cotton swabs, and an oil-free cleanser ready.
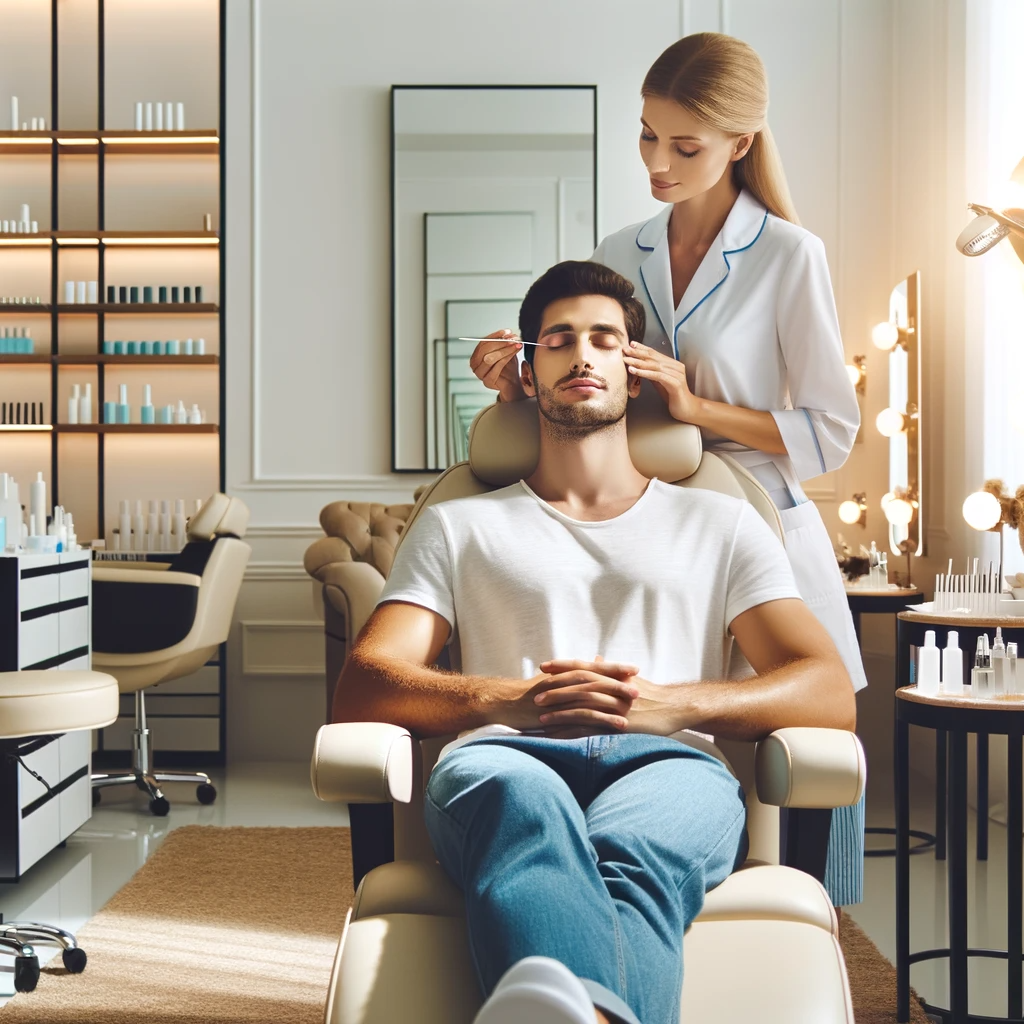
- Step #2: Set Up Your Workspace - Find a comfortable, well-lit and ventilated area where you can sit or stand in front of a mirror. Clean the surface and lay out a towel to organize your tools and solutions, ensuring everything is within easy reach for a seamless process.
- Step #3: Perform a Patch Test - To avoid any adverse reactions, apply a small amount of the lifting and setting solutions behind your ear or on the inside of your elbow at least 48 hours before your lash lift. Monitor the area for any signs of redness, itching, or irritation.
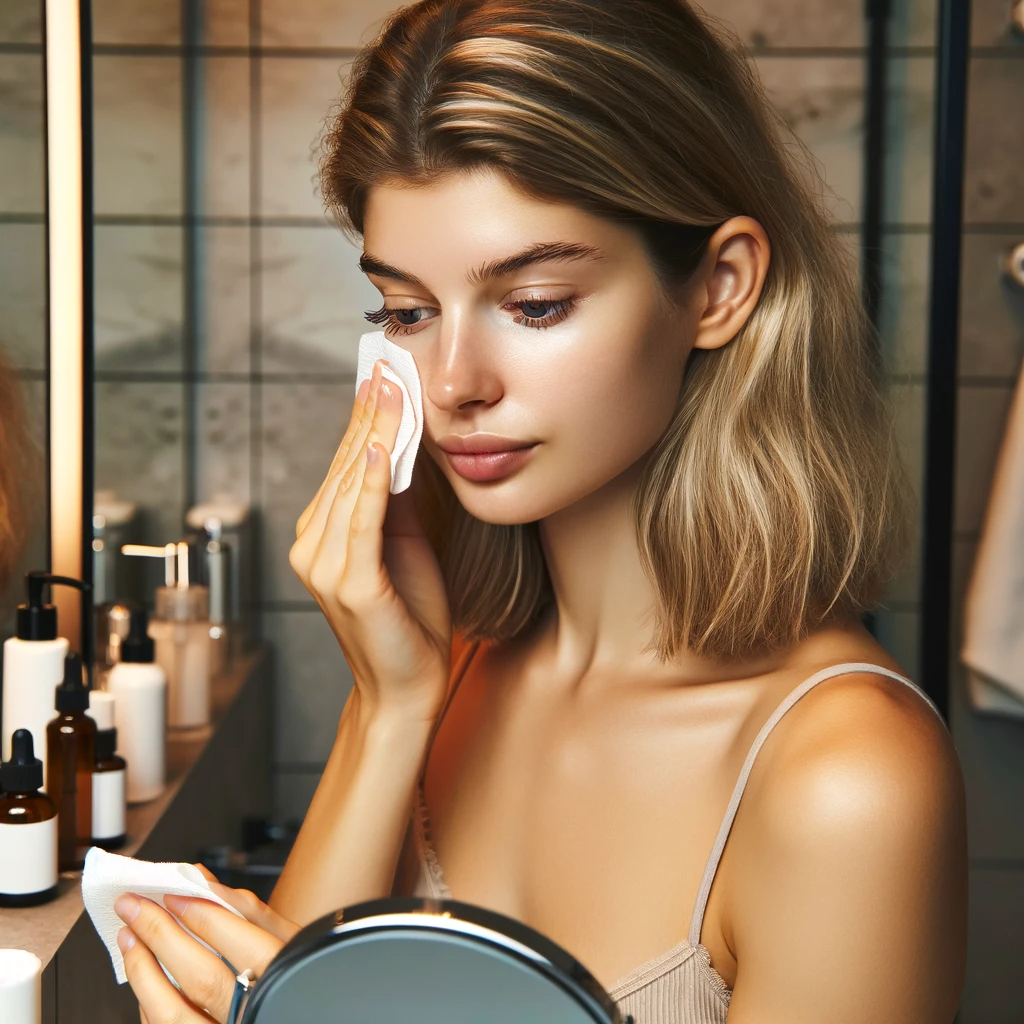
- Step #4: Remove Makeup and Clean Lashes - Use an oil-free cleanser to thoroughly remove makeup, oil, and dirt from your eyelashes and eyelids. Then gently dry your lashes. Clean lashes allow the solutions to adhere properly.
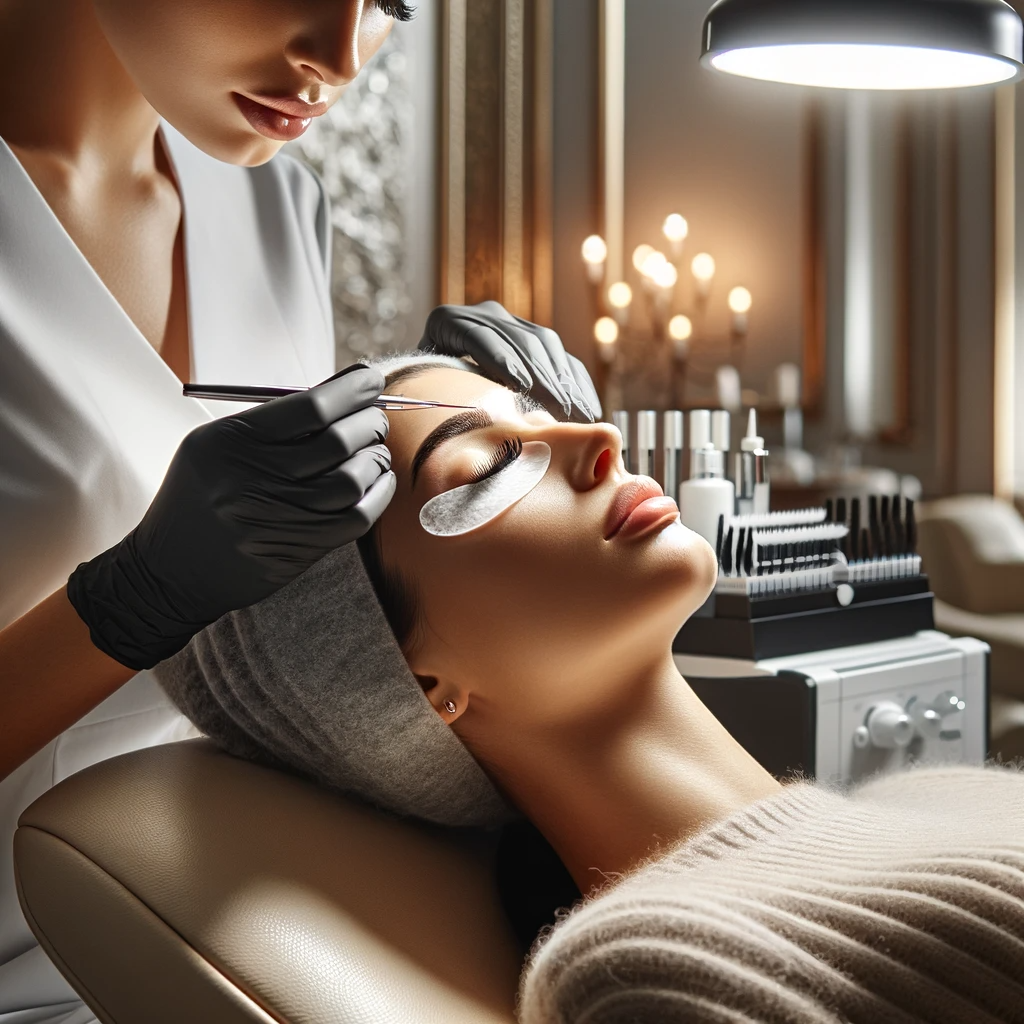
- Step #5: Apply Silicone Pads - Choose the right size of silicone pads that fit the shape of your eyelids and desired curl. Apply a thin layer of lash lift glue on the back of the pads and wait a few seconds for it to become tacky. Press them onto your eyelids right above your lash line, making sure they are positioned symmetrically.
- Step #6: Apply Lifting Solution - Using a micro brush apply the lifting solution to the base of your lashes, but avoid coating the tips or letting the solution touch your skin. Follow the instructions regarding how long to leave the solution on your lashes, which is usually between 6 to 12 minutes, depending on the kit.
- Step #7: Set with the Setting Solution - Gently remove the lifting solution with a dry cotton swab. Then, apply the setting solution with a new micro brush, which will fix the curls in place. The setting solution typically needs to sit for the same amount of time as the lifting solution.
- Step #8: Nourish and Condition - After the processing time, remove the setting solution with a dry cotton swab. Apply a nourishing oil or conditioner to replenish moisture and keep your lashes soft and healthy. This also helps to remove any leftover glue from the silicone pads.
- Step #9: Comb and Shape - While your lashes are still on the silicone pads, use a clean, dry mascara wand or lash comb to gently shape your lashes into the desired position. This will help define the curl and separate any lashes that may have stuck together.
- Step #10: Enjoy Your Lash Lift - Carefully remove the silicone pads, and cleanse your eyelids to ensure no residue is left. Your lashes should now have a beautiful, natural-looking curl that opens up your eyes.
Remember, patience and precision are your friends during this process. Take your time with each step to ensure the best results from your at-home lash lift and tint.

Pro Tips and Troubleshooting
To avoid uneven lifts, ensure that the silicone pads are placed symmetrically and that the lifting solution is applied uniformly to both eyes. If your lashes aren't curling, it could be due to residue from makeup or not leaving the lifting solution on long enough. Always start with completely clean lashes and adhere to the recommended processing time.
If you experience over-curled lashes or irritation, the solution may have been left on for too long, or the silicone pads might be too small. In case of discomfort, promptly remove the products with a damp cloth.
Pro Tips for Success
- Ensure your tools are clean and sanitized before use to prevent any infection or irritation.
- Use a lash lift glue that provides enough hold for the lashes but is still gentle and easy to remove.
- Be conservative with the amount of solution you use; more isn't always better and can lead to overprocessing.
- After applying the lift or set solutions, cover lashes with plastic wrap to keep the warmth in, which can help the solutions work more effectively.
- Maintain the lift with a clear lash serum or castor oil at night to keep lashes hydrated and healthy.
Common Mistakes to Avoid While DIY Lash Lifts at Home
- Ignoring Expiry Dates: Expired solutions may not work effectively and could cause irritation.
- Rushing the Process: Take your time with each step for even application and optimal results.
- Forgetting Aftercare: Follow proper aftercare to maintain the lift and avoid premature drooping.
- Misapplying Silicone Pads: Place pads close to the lash line for a natural-looking lift.
- Neglecting Lash Health: Condition your lashes regularly before and after lifting for resilience.
- Uneven Application: Consistency is key; ensure even application of solutions across all lashes.
- Overusing Lifting Solutions: Apply only the amount instructed—excess solution can damage lashes.
Final Thoughts
To wrap it up, a successful DIY lash lift at home is all about precision, care, and attention to detail. Avoiding common mistakes not only ensures a more beautiful lift but also protects the health of your lashes.
If you're on the hunt for a top-notch DIY lash lift set that ticks all the right boxes—from ease of use to quality results — the Luxe Lashlift Kit is designed to meet your needs. With its clear instructions and quality ingredients, it's your go-to choice for achieving that dreamy, eye-opening lash lift.
Related Articles


Rabbiya Rabeel
Rabbiya Rabeel is a skilled writer with 6+ years of experience specializing in the beauty and related niche, bringing a wealth of expertise to her work. Her content is characterized by a dedication to uncovering real facts, steering clear of myths that often clutter the beauty landscape.